
AUGMENTED REALITY EXHIBITION
hi friends, happy earth day. I hope you’re holding up well.
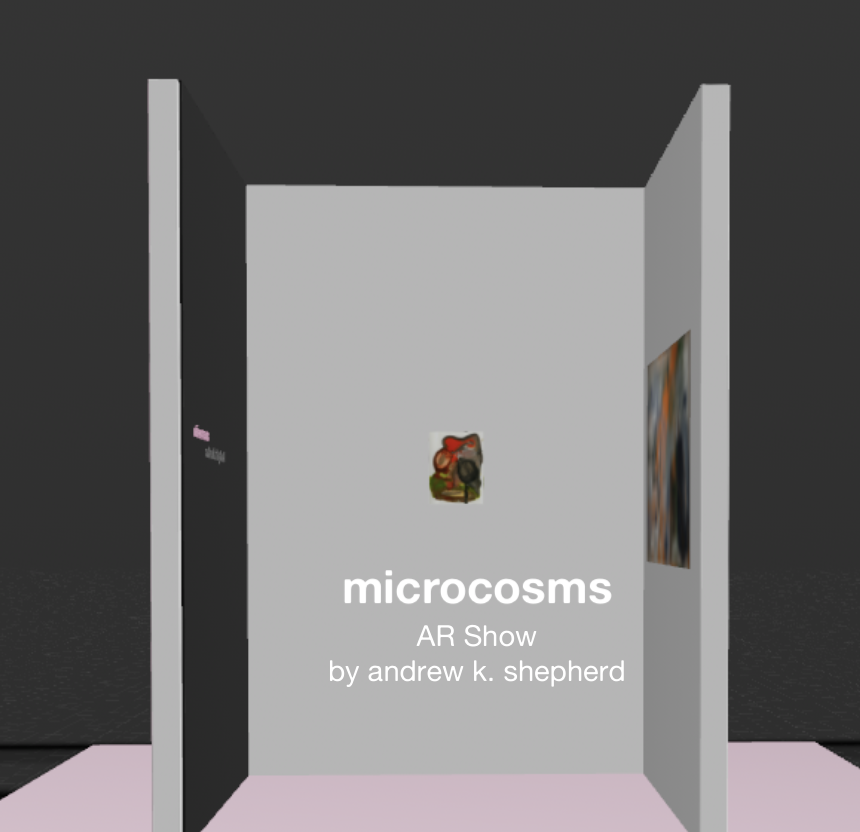
I’ve been playing around with the Reality Composer application for iOS a little bit in the past couple weeks, and I realized there were a lot of possibilities for it. The niche I jumped to immediately was the newly created issue of ”how do I put my physical work in front of people in the time of covid-19?'“ — so I wanted to put together an AR exhibition to see if worked. What I ended up putting together was this show, called “microcosms”. It’s a few paintings and prints that I wanted to show together in a little world you can explore for yourself.
To see the show, you’ll need an iOS device.
Download and print out this key on a standard 8.5x11'“ piece of paper, find 6 feet or so of open floor space, and make sure the room is nice and well lit.
↓ Click here to download the key.
Plop the key smack-dab in the middle of the open space, and come back to this page on your iPhone or iPad. Tap the icon to the right of this, scan the room, and keep the key in view.
Enjoy the show and let me know what you think!
PROCESS
This process is a little limited in terms of user base — to make and use it, you must have an iPhone and a Mac. I’ve been looking online to see what the options are for Windows/Android/Chromebook and it seems like the best available option might be Vectary (vectary.com). It’s online based and offers free hosting, but you’ve got to pay to use it. Using Reality Composer is free, and the resulting file is open-sourced, weirdly easy to set up, and runs smoothly on iOS. I’ll walk you through how I did it.
What you’ll need:
Xcode on Mac. Download here.
Reality Composer for your iOS device. Get it here.
High quality, cropped images of the work you’d like to show.
You’ll want them to appear like they’re hung on the wall.A black-and-white printer. (Not always required, but nice)
An open-ish room to test drive your show in. You want a good 6 square feet of space to move around in.
Once you fire up Xcode, click Xcode button > “Open developer tool” > Reality Composer.
There’s a couple options for how to set it up. iOS does a good job of figuring out where the walls and floors are in your space without a key image, but I decided to make walls for this exhibition so I wanted the model to be anchored in the space.
I tried it first with the vertically mounted model, and that’s a good place to start. Putting images in the space was kind of the trickiest part.

Once you place a frame, you have to use the properties tab on the right to actually insert the image in the frame — it’s under image assets, and then you have to load the image into the project file. It’s a little hidden, but rotate it so it hovers over the plane — it’s a little finicky, but once you get the hang of it, it works great.
Also, all of the sizes in the file are in centimeters. If you want the images to reflect the actual size of your work, you have to do a little conversion work from inches. It’s a little bit of a workaround, but then your paintings are life-size in the app.
If you click the ‘edit on iOS button’ and open the Reality Composer app on your iPhone with your Mac and iPhone on the same wifi network, you’ll be able to test-drive your exhibition IRL. Make sure you have room to walk around and that your space is well lit.
Once you play with everything and get it set up, the most finicky part is actually exporting the file and uploading it to your website.
Under Reality Composer settings in the menubar, click Preferences, then check the boxes for Enable USDZ export. Then, do the thing and export your file as a .usdz to the folder where you can find it. This is also a good time to mockup a little image that you’d like to use as the cover on your website. I just took a screenshot of the Reality Composer file and added some text, lol.
Next, you’ll need to find a place for it to live on your website, and how your web service actually hosts the files. I use squarespace, and I had to find the same screen where you add files to be able to link them. Upload the image you made and the .usdz file. Remember your file name and the link for both files.
Then, make an embed box, and drop this code in. The width and height of the image are variable, use the dimensions of the image in px.
<a href="https://yourwebsite.com/projectname.usdz"rel="ar"><img src="https://yourwebsite.com/projectname.png" width="350" height="350">
</a>
I hope that this helps somebody! Reality Composer has lots of options and I hope somebody finds it a little bit useful, especially as a companion to digital exhibitions that are set to come up over the next couple quarters.
Reach out and show me if you make anything!
Wherever you are, I’m with you.
Cheers!